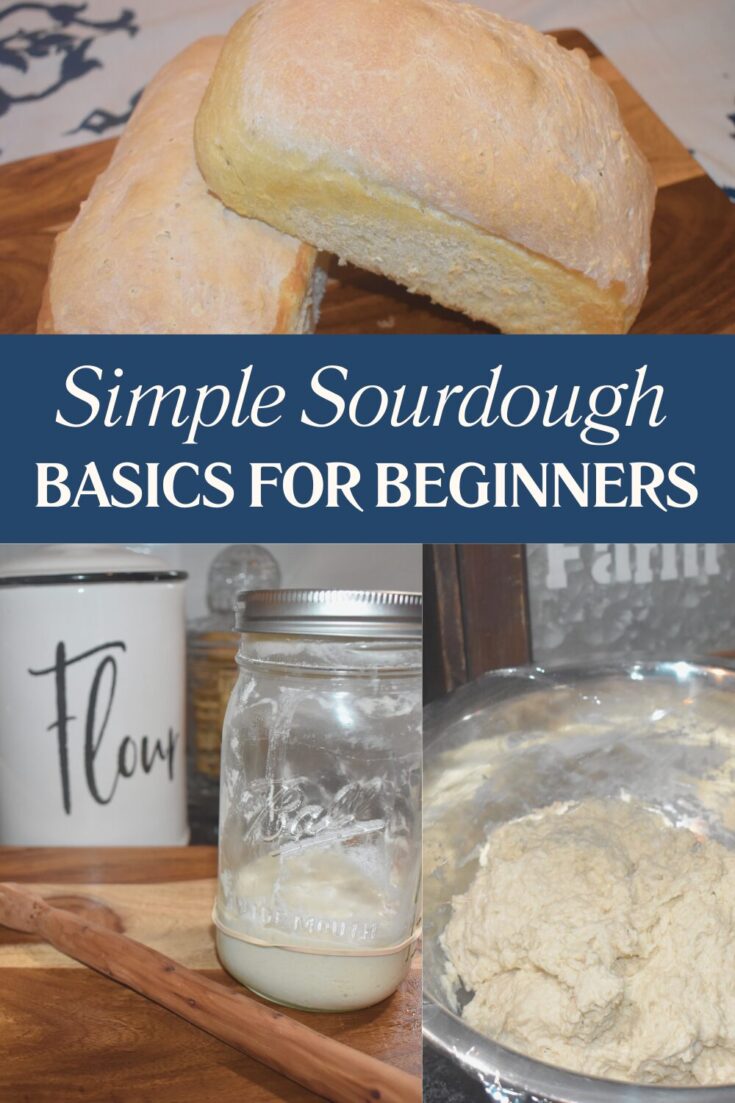
Simple Sourdough Basics for Beginners
There are so many sourdough recipes out there these days. Some of them can be really complicated. My goal was to put together the simple sourdough basics for beginners that are easy to fallow so anyone can do it!
Why Sourdough?
Is this just a trend that will fade out one day? Or are there real benefits to sourdough? While it may one day fall from popularity the fact is that there are real health benefits to sourdough.
Sourdough is a fermented food. Because of this it is easier for our bodies to digest. The long rising time allows for the yeast to “eat” more of the gluten which can be difficult for our bodies to process.
If you’re interested in more on the benefits of sourdough you might want to give this a read.
Plus, it tastes really great!
Basics for Beginners
The main steps to sourdough that seem to be universal between all the recipes I read or watched are actually pretty simple.
When I set out to learn how to make sourdough, I wanted to know what the basics are that are a must in order to make real sourdough and what else is just embellishment or personal preference.
Here is what I found to be the same in every recipe.
Simple Sourdough Basics for Beginners:
- Sourdough Starter that is fed and happy
- Starter, filtered water, salt and unbleached flour
- Rise time for fermenting
- Second rise time to form and shape
- Baking
Happy Sourdough Starter
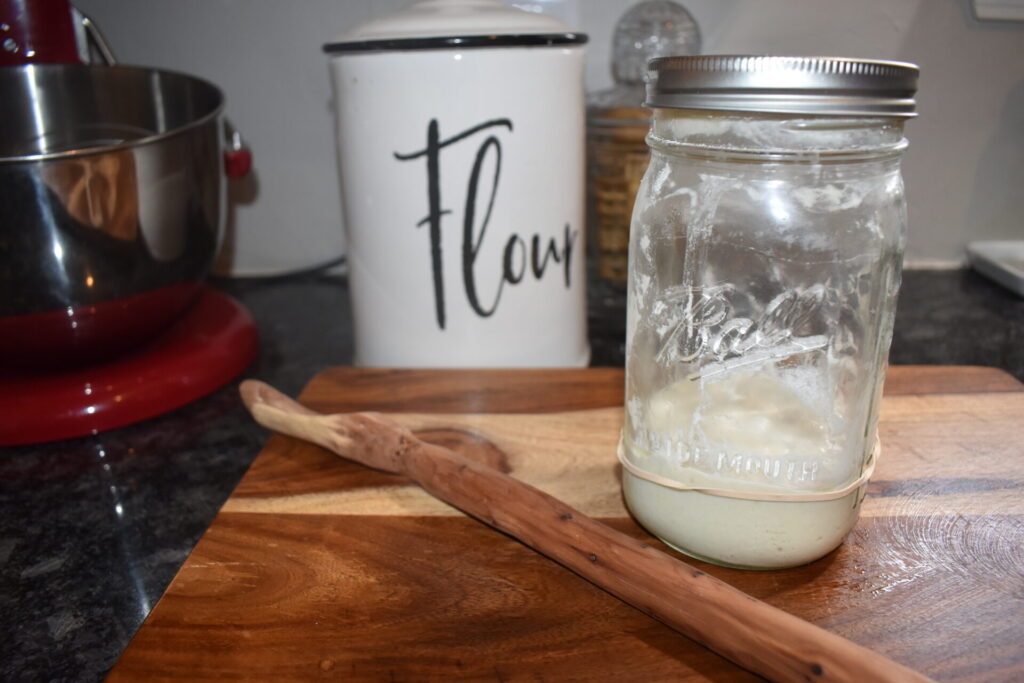
The sourdough starter is the active yeast which is your leavener that makes the dough rise. It is pretty easy to start your own starter.
All it takes is mixing equal parts water and flour the first time then every time after that equal parts starter, flour and water.
It’s important to use filtered water or well water and unbleached flour. If you use city water the chlorine may kill your yeast and bleached flour has been through a process that also kills the yeast.
You feed it every day for about 2 weeks. As your amount starts to grow you can either get a bigger container or discard some of it. Which is what most people do and rather than just dump the discard down the drain there are lots of great ideas out there on how to utilize the discard. But if making a starter is not what you’re interested in then it’s also pretty easy to get some from your friends. 😉

Where do I keep my sourdough starter?
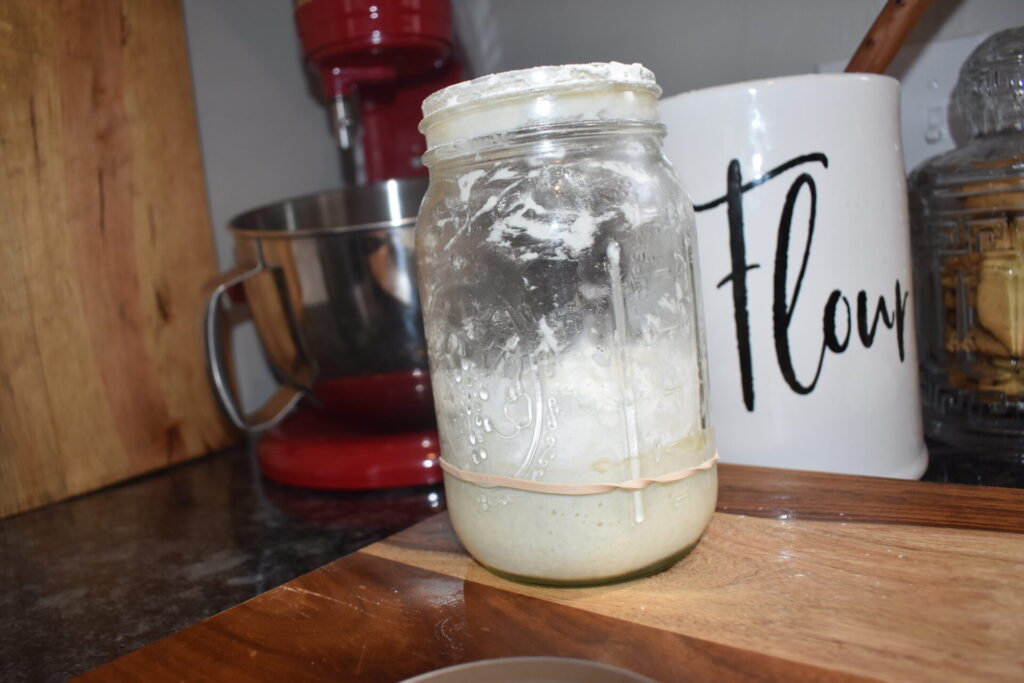
There are tons of people who leave their starters on the counter and feed them regularly so that the bacterias don’t get out of balance. After your starter is establish, you can get away with only feeding it every couple of days. If the bad bacteria take over, your starter will mold, and you’ll have to throw it out.
I don’t make enough bread to use all the discard that comes from feeding my starter every couple of days. So rather than keeping it on my counter I keep mine in my fridge. Keeping it in the fridge slows down the yeast and it takes longer to “eat” so I don’t have to feed it as often.
When I want to make a batch of sourdough, I simply take my starter out, feed it, and wait for it to double in size.
Now feeding can get really technical and require measuring and math but I’m not too crazy about that. The basics of feeding as I said earlier are equal parts, starter, flour and water. So how ever much starter I have I just eyeball that much flour. Then I add enough water to get the right consistency.
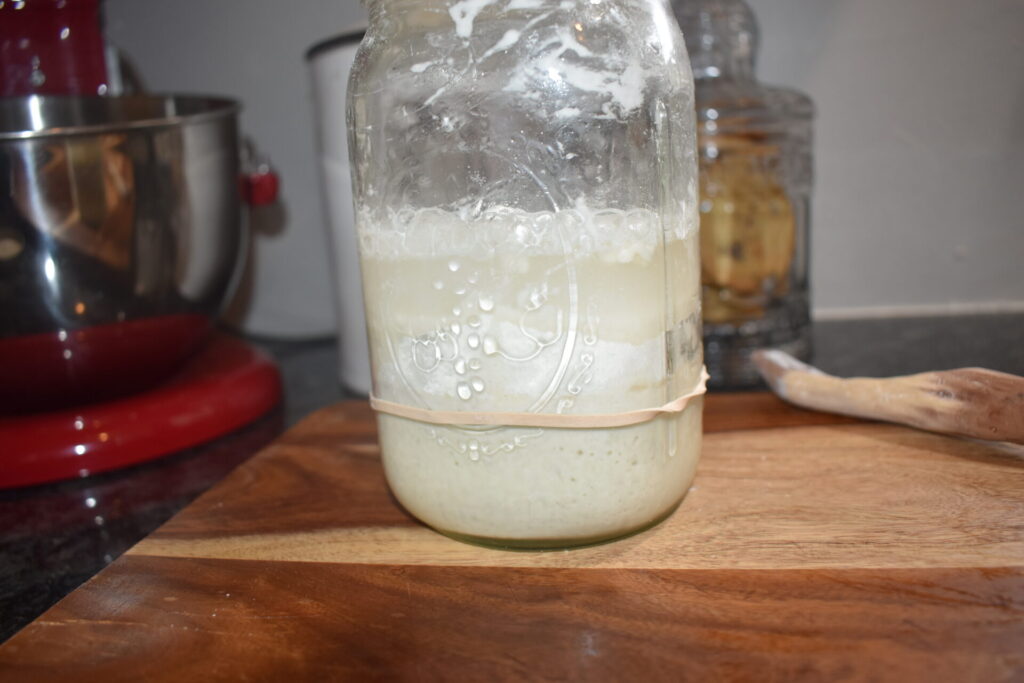
You’re looking for the consistency to be thicker than pancakes and thinner than biscuits. Once you have fed it and it has risen about double in size it will be active enough to make a loaf of bread. Sometimes I use it before it’s really active and it will still work it just takes longer.
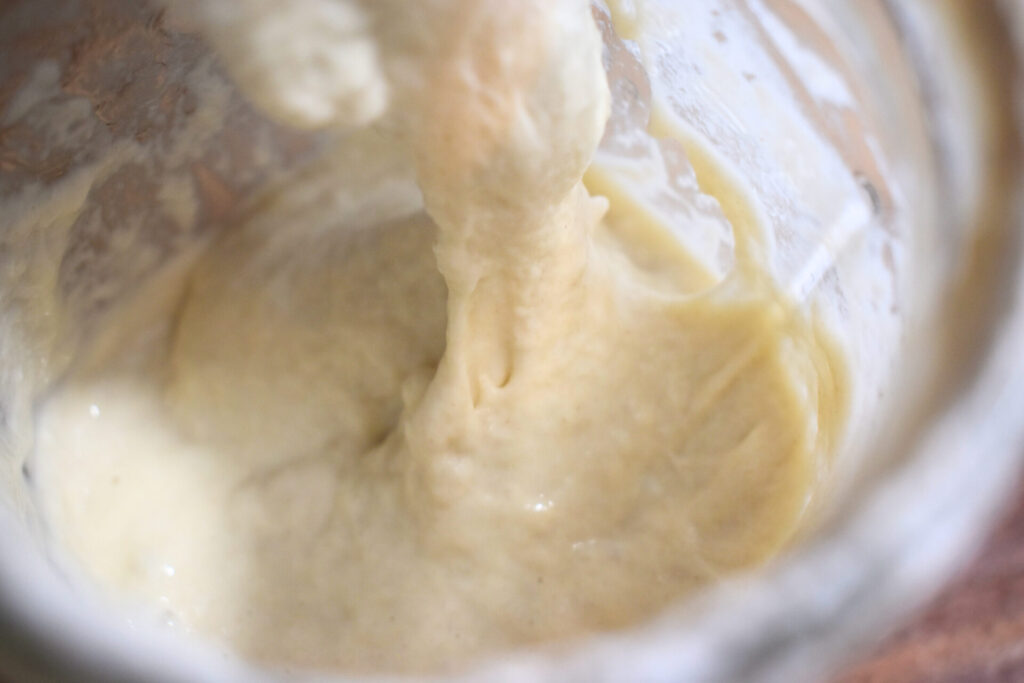
Starter, water, salt and flour
For my sourdough I like to use 1 cup of starter, 2 1/2 cups filtered water, 3 tsp salt, and 6 cups unbleached flour. This will give me enough for 2 loaves.
One thing I learned, for ideal sourdough, is you want a wetter, sticky dough. However, if I’m going to use my sourdough for dinner rolls or cinnamon rolls or something else that I’m going to need to handle a lot I will add a little more flour to make the dough easier to handle. How much more you ask? I don’t know. I just do mounded cups rather than flat and see how it feels. If I think it needs more then I just add some more. I am not very scientific with it. 🙂
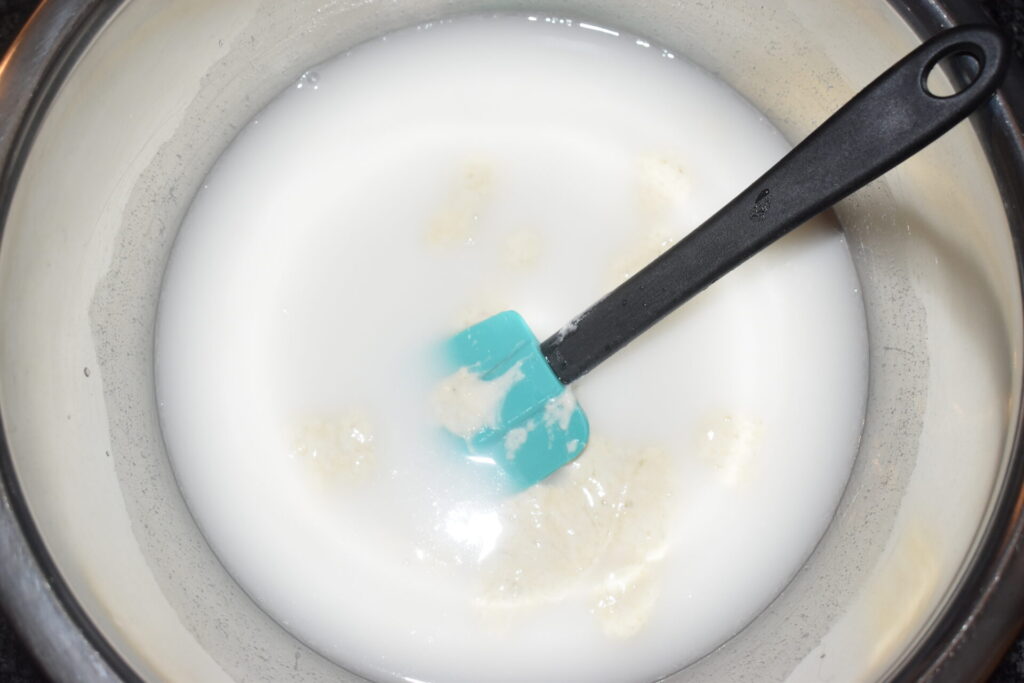
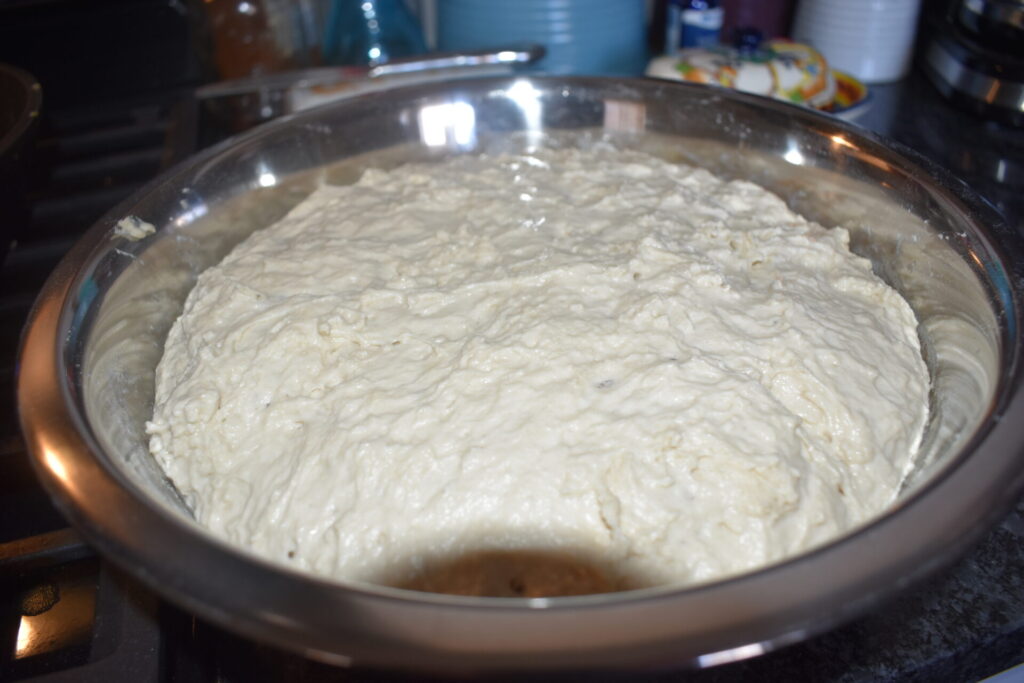
Rise time for fermenting
The first rise time is really about giving your yeast enough time to do its thing. Lots of people talk about stretching and folding periodically to start this first ferment. But in my experience, this is not a necessity. It is fun, though, to feel the change in texture as it sits, but I don’t always have the time to keep coming back to stretch and fold. Actually, with my recipe I just let it sit overnight and it’s usually ready by morning. Or it’s overflowing the bowl depending on how warm the house is.
Another option at this point is putting the dough in the fridge and letting it sit for a couple of days. I don’t know about you, but I don’t usually have enough room in my fridge for a large mixing bowl. But just so you know this is an option if timing is tight and you know you’re not going to be able to attend to it when it’s ready.
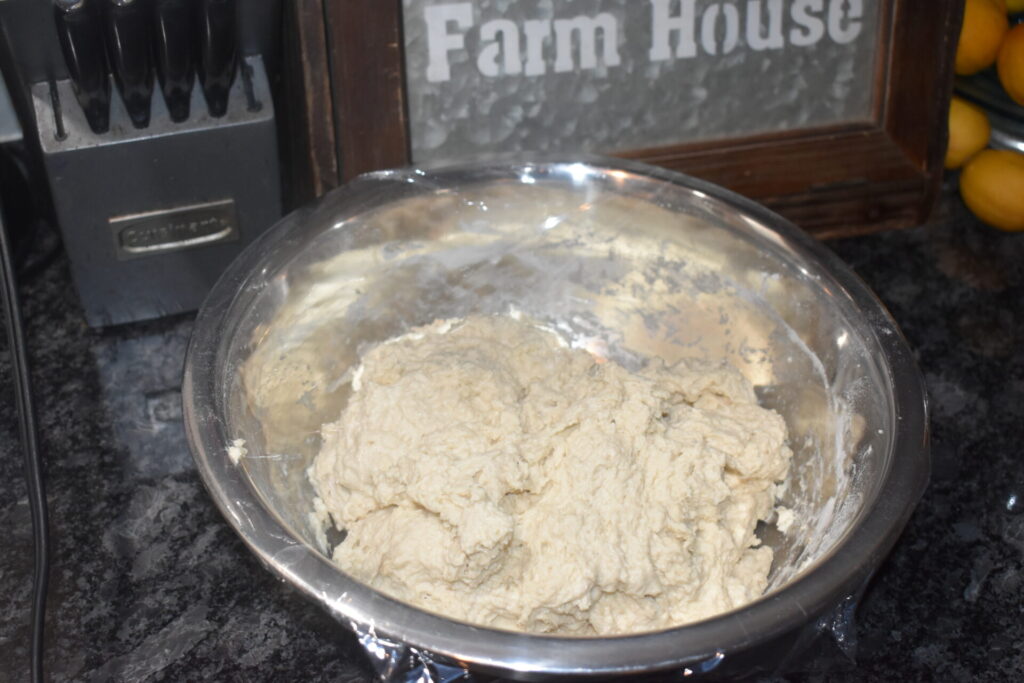
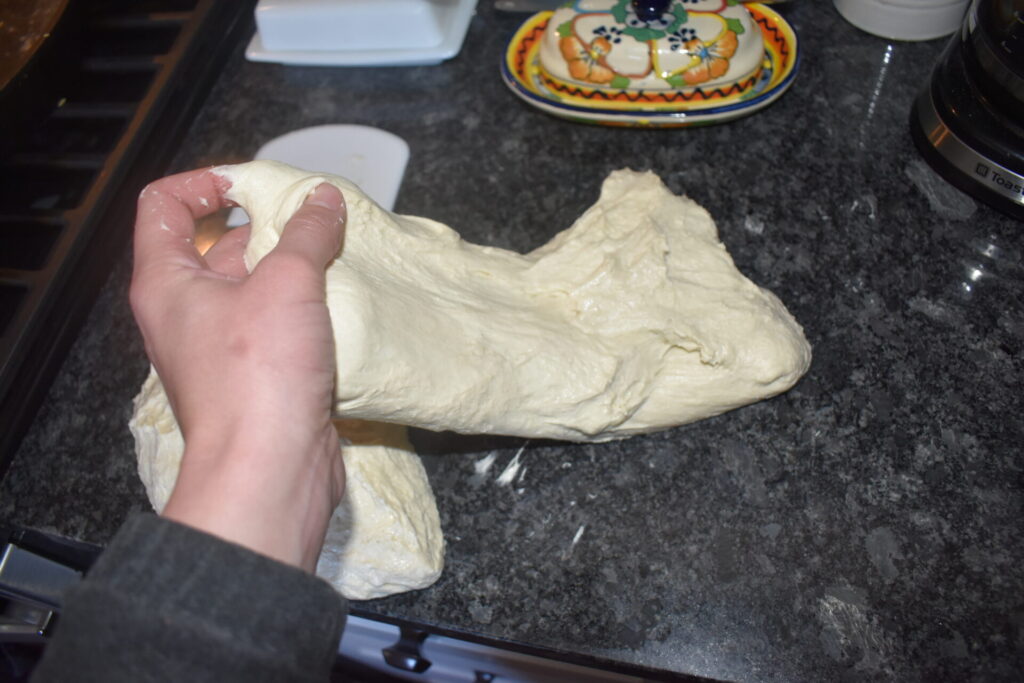
Second rise time
After the first rise time, you want to turn the dough out and dived it in two.
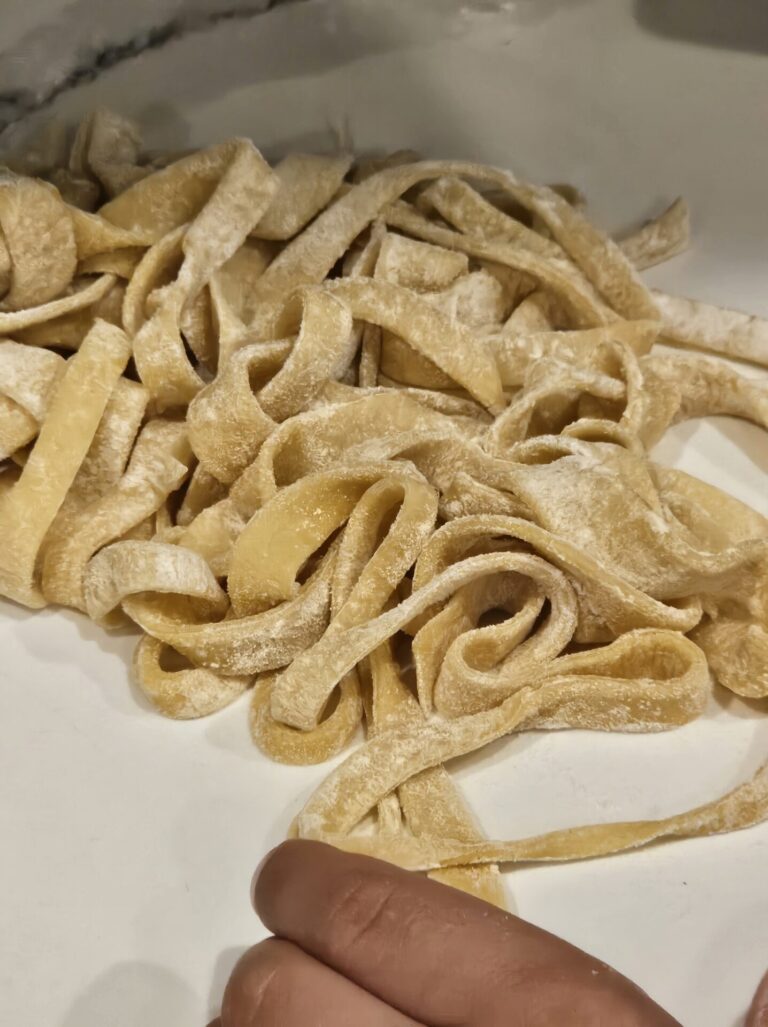
At this point you can use your dough for dinner rolls or cinnamon rolls or what ever else you want. But for a loaf I stretch and fold into thirds two ways. I pull it out long and fold the ends in, then stretch and fold again at a 90 degree turn from where I did the first one.
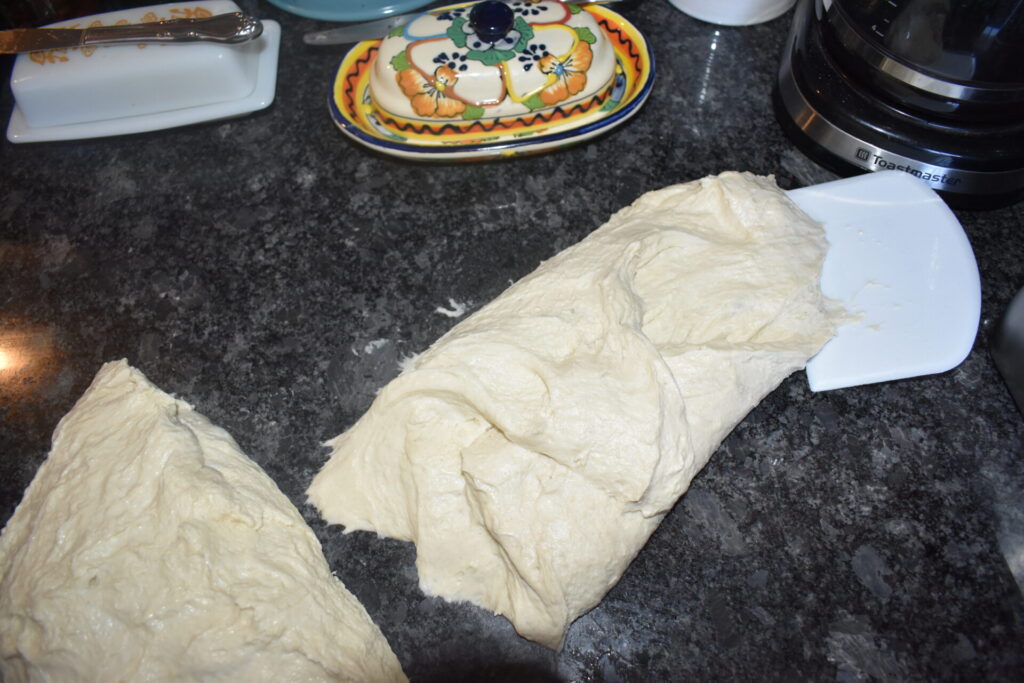
I’m sure there is a better way to say that but hopefully the pictures help.
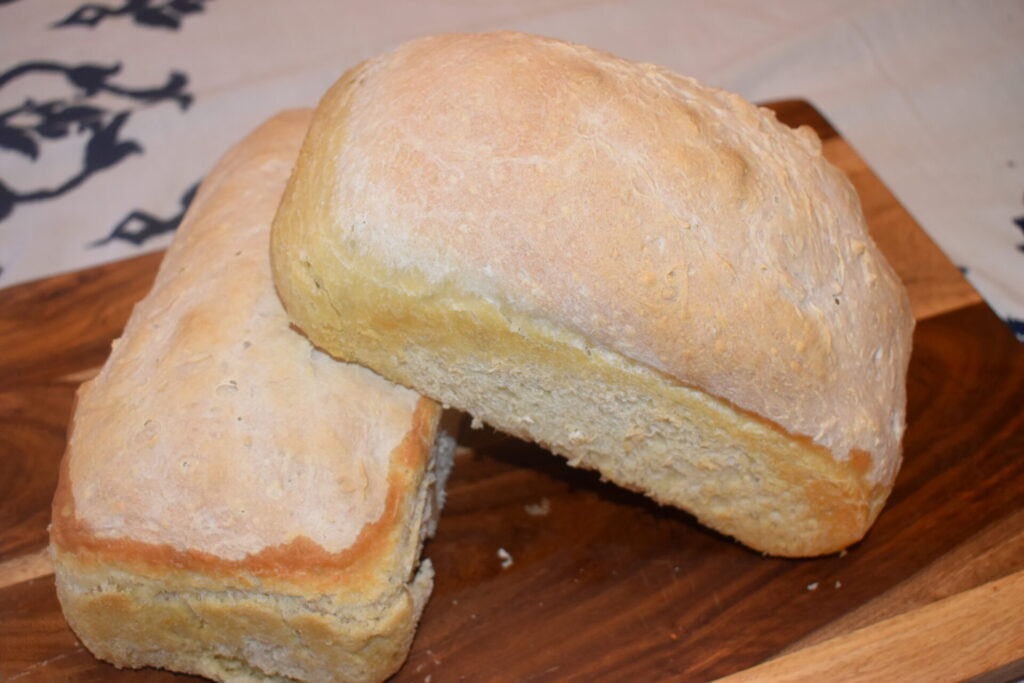
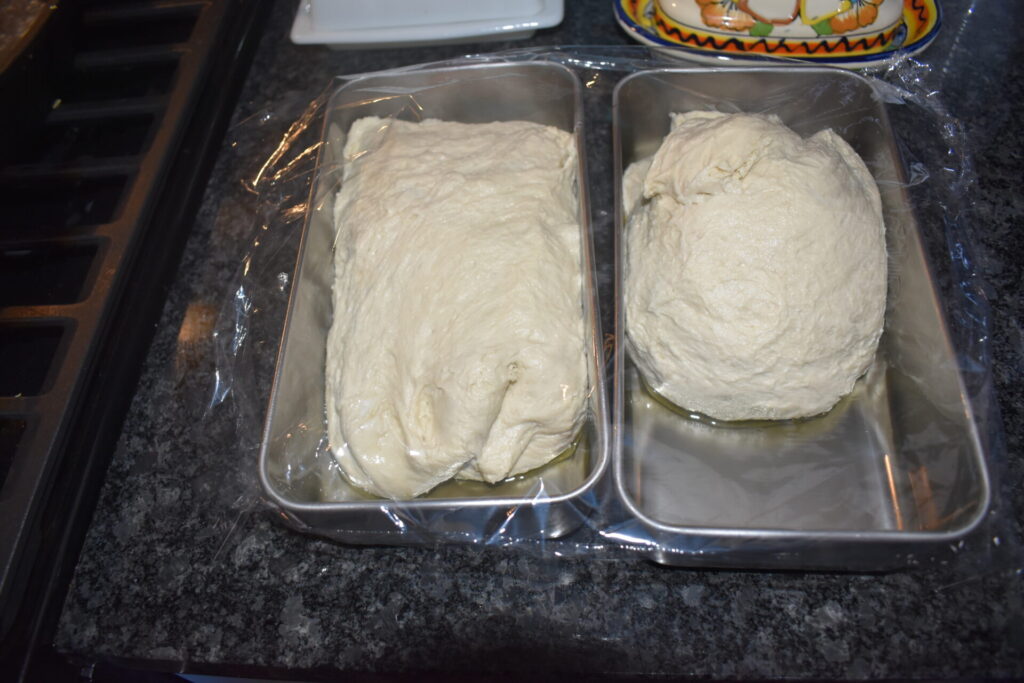
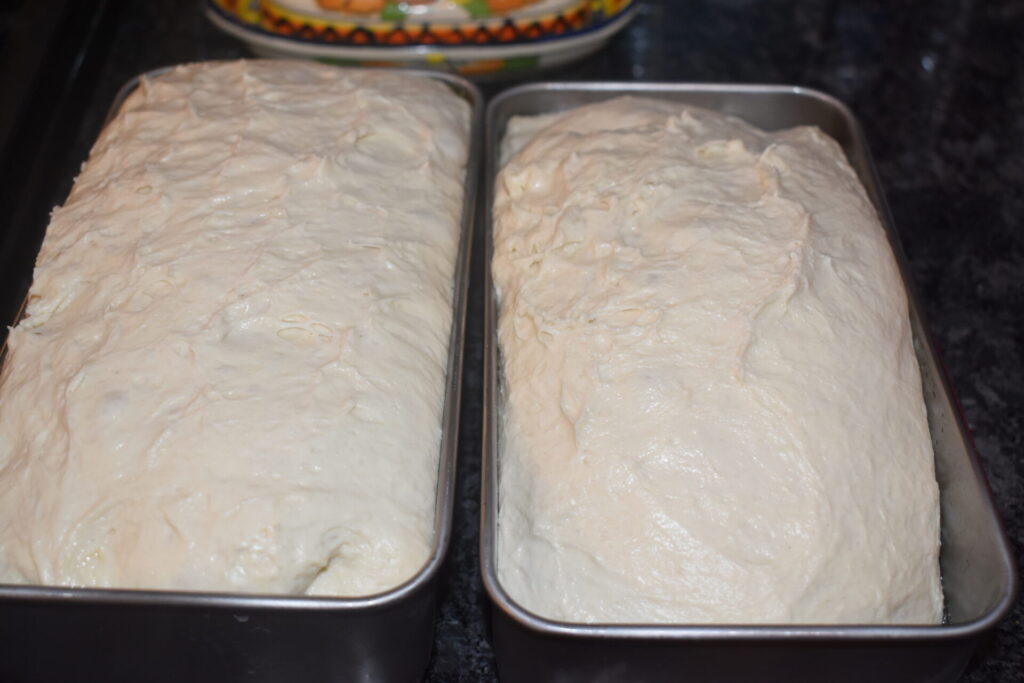
Then I put them in my greased loaf pans to rise until double in size.
Baking your Basic Loaf
Lastly comes the baking! I like to bake my loafs at 400 degrees for 40 mins.
From feeding my starter to baking my bread the process takes about 2 days.
I pull my starter out around mid-morning to afternoon of the first day and by the evening its ready to use. So, then I mix up my dough and let it sit overnight.
In the morning of the second day, I divide it and let it rise again which can take a couple hours or all day depending on temperatures and how active my yeast is. But it’s usually ready by the afternoon some time.
I hope this helps make sourdough less intimidating and that you give this simple sourdough basics for beginners recipe a try!
Yield: 2 loafs
Simple Sourdough Basics for Beginners
This simple sourdough recipe is just the basics you need for a great loaf of bread
Prep Time
2 days
Cook Time
40 minutes
Total Time
2 days 40 minutes
Ingredients
- 1 cup sourdough starter
- 2 1/2 cups filtered water
- 3 tsp salt
- 6 cups unbleached flour
Instructions
1. The morning before you want bread you need to feed your starter equal parts flour and water compared to how much starter you have. Let it rise until double the size.
2. When starter is ready add 1 cup of it and the 2 1/2 cups water to a large mixing bowl. Stir in the salt. Then add the flour and mix until well blended.
3. Cover and let this rise over night or until double in size.
4. Then divide in two and stretch and fold into a loaf shape and place in two greased loaf pans. Cover and let rise until double in size.
5. When ready, bake at 400 degrees for 40 mins.